
Blog categories
Search
Wishlist
Sculpting a Figure - from Fimo to Painted Figure
Published : 07/16/2017 18:47:36
Categories : Articles
This is a brief description of making a figure. I've left out lots of fussy detail but it should give you a clear idea of how I do it. Other sculptors use epoxy clay, which I find awkward, though it has some advantages. But after early experiments, I devised this method using Fimo, a superior sculpting material, which I’ve used since the late ‘80s. Fimo is one of several commercial polymer clays widely used in hobbies OTHER than making wargame figures, it seems.
SCULPTING
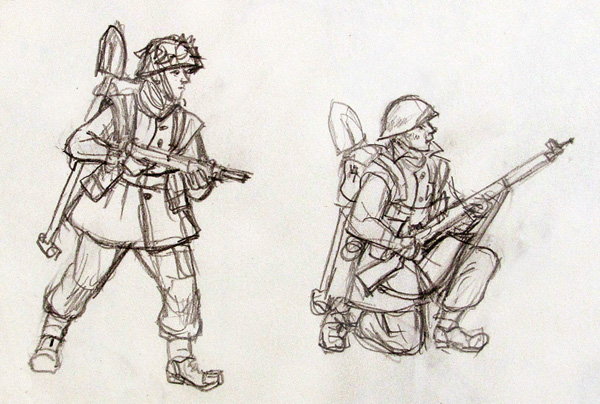
Having decided on the design, perhaps with a sketch...
| |
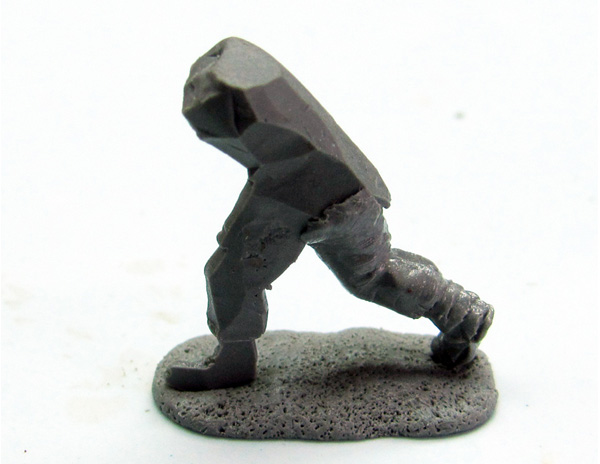
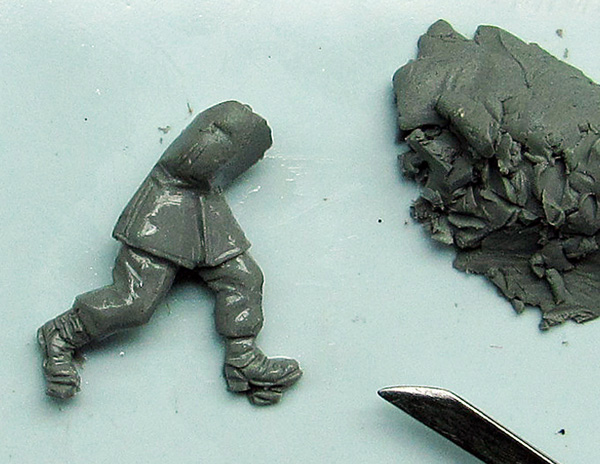 | Place blob of Fimo on tile and set to work. The tile acts as the armature, so no silly bits of wire are needed. I generally make the legs and torso in the first session... |
 | Then fire in the electric oven at 125C. Once fired, pop off the tile, carve off any unwanted edges, and start adding the other side of the legs. |
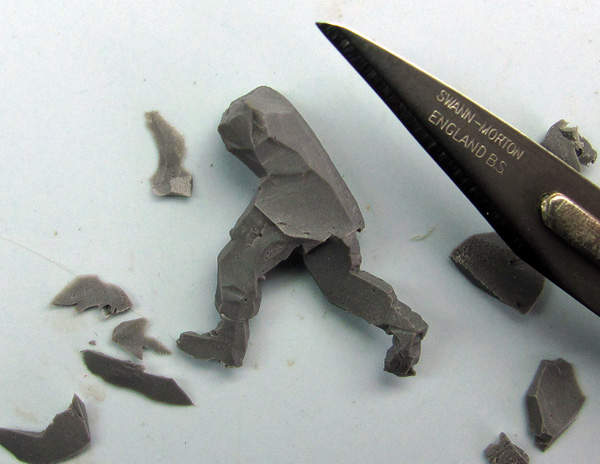
| Fire again, this time on a base. |
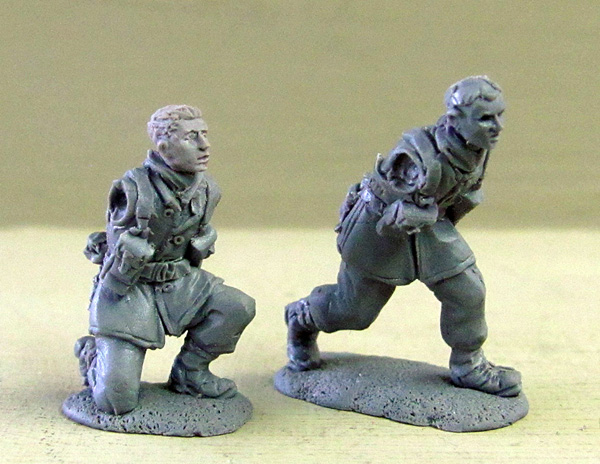
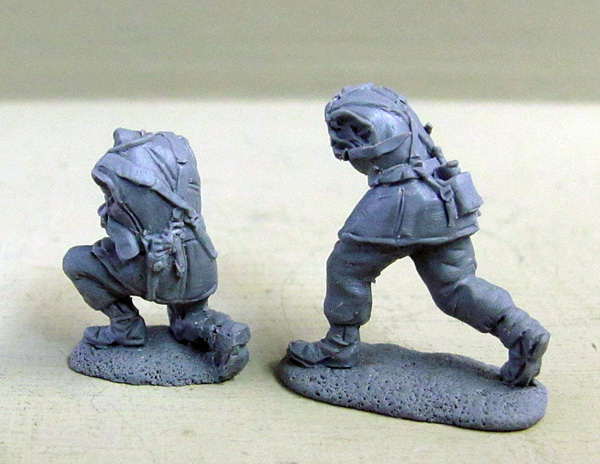
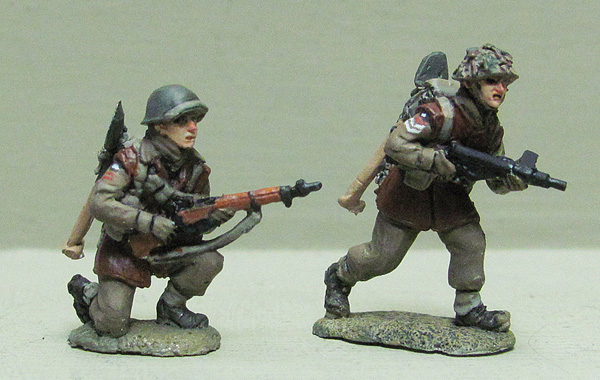
| The other figure, this time kneeling. |
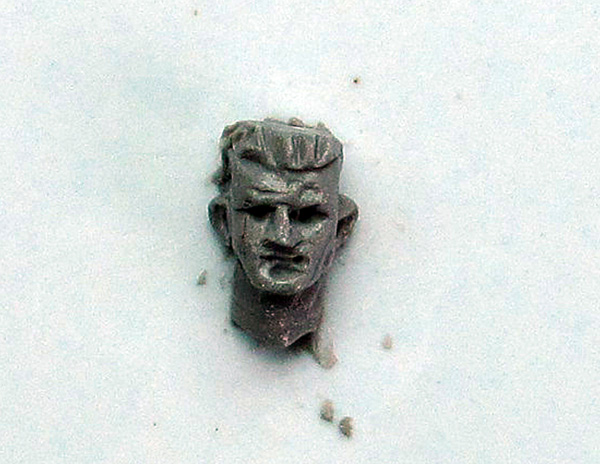
| Make the head separately. |
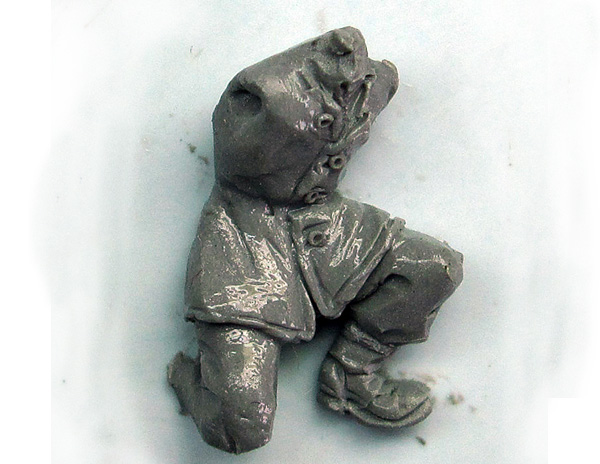
| We now have two torsos on bases, with legs almost complete... |
| Add the backs. |
 | Heads I make separately, and then add to the torso, followed by the first of the equipment detail, and so on. |
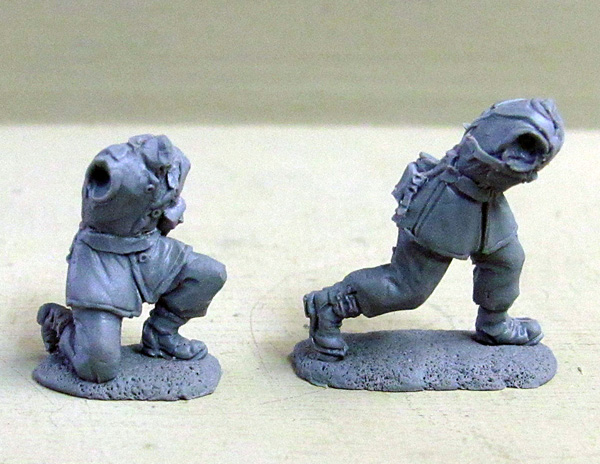
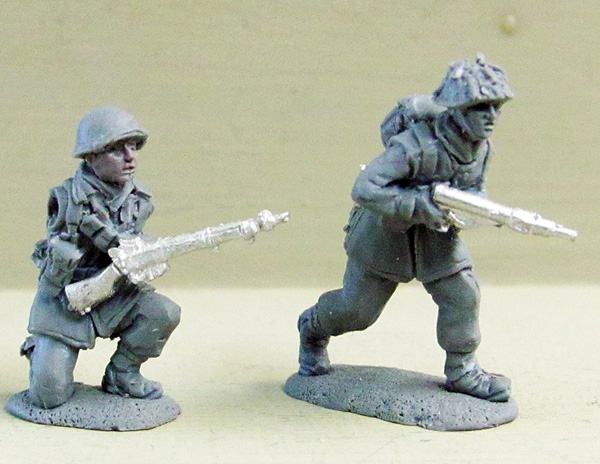
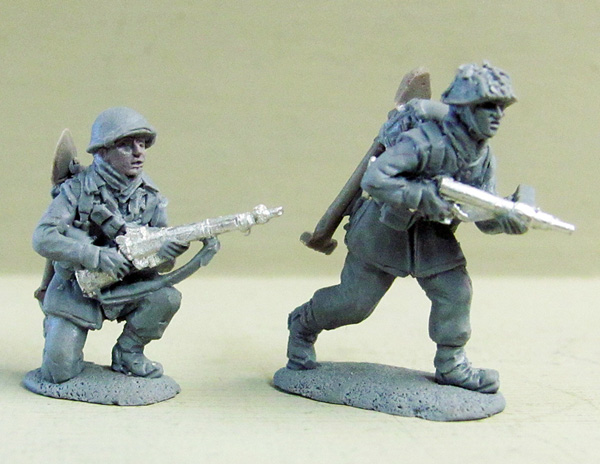
| You can fire the figure many, many times, so long as the temperature never exceeds the correct 125C. Add weapons which have been previously cast in tin to ensure uniformity... |
| And after several more sessions, you have two complete master figures... |
CASTING
The Fimo figure has to be copied into metal to make the production mould. I use a Centricast system from Tiranti, which is basically a circular mould box and all its fittings, and a small centrifuge onto which the mould-box fits; used both to create the mould by pouring rubber into the mould-box, and after to fill the cured mould with molten metal. The rubber is RTV, in other words it sets at room temperature, which can be mixed and poured in a plastic jug. The red rubber is designed for casting metal.
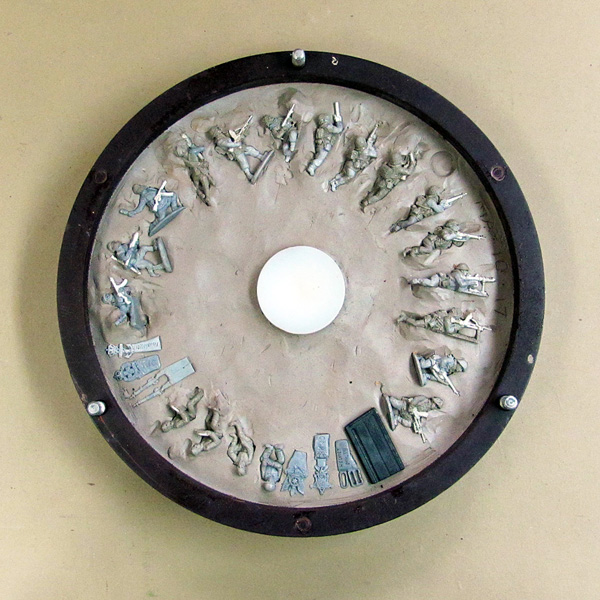
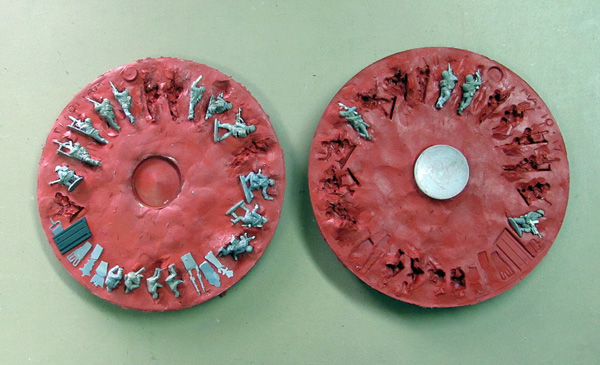
| Start by filling the box with clay, to make a bed to lay the figures in. Carefully embed the figures, cunningly sculpting the part line to make extraction of the casting easy. |
| Once the circumference is filled, prepare the rubber and pour it in... |
| Close the mouldbox and top it up. Rubber sets in about ten hours. A day later, open the box, remove clay by hand and washing, clean rubber surface all around figures ( several hours work), vaseline the whole surface to prevent second pour of rubber sticking, and pour the second half. |
| Remove the Fimo masters, cut entry flues for metal. |
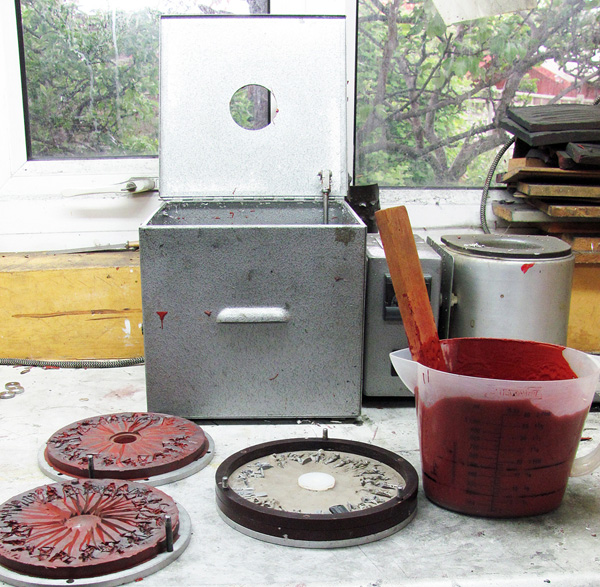

The red rubber mould then goes back into the mouldbox, is put on the centrifuge rotor, set spinning, then has molten metal poured into the centre hole.
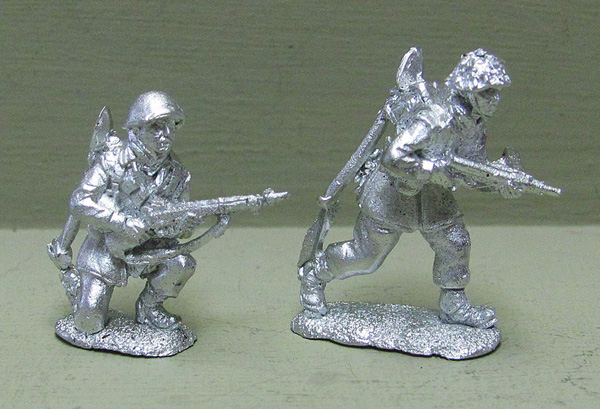
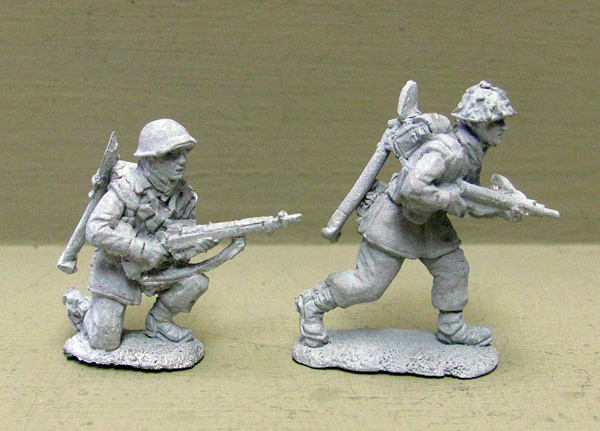
All being well, and with a few adjustments to the flues, after about an hour’s work casting I have a full set of figures. There are occasional mould tears which can ruin a casting, but mostly it works well.
METAL CASTINGS
After any fettling, these are sent in sets to the factory to be squeezed between two slabs of black rubber in a vulcanising press, to create the very tough production mould.
The figures cast from that are what you buy. They are very fractionally slimmer than the metal masters, but that is taken account of when sculpting.
I keep a few as spares, and paint them for display and catalog photos...
So, that’s what I do all day.